
Bottom line (do this):
- Mount a surge strip under the desk
- Feed cords into a metal tray
- Drop one vertical bundle to the wall
- Hide it in a paintable raceway; coil slack with reusable ties
| Essential | Why | Best For |
|---|---|---|
| Metal under-desk tray | Holds strip + bricks; ventilates heat | Most permanent desks |
| Paintable wall raceway | Clean vertical drop to outlet | Renters / no-drill |
| Cable box | Hides strip/brick clutter on or under desk | Visible setups / safety |
1) Under-Desk Tray (start here)
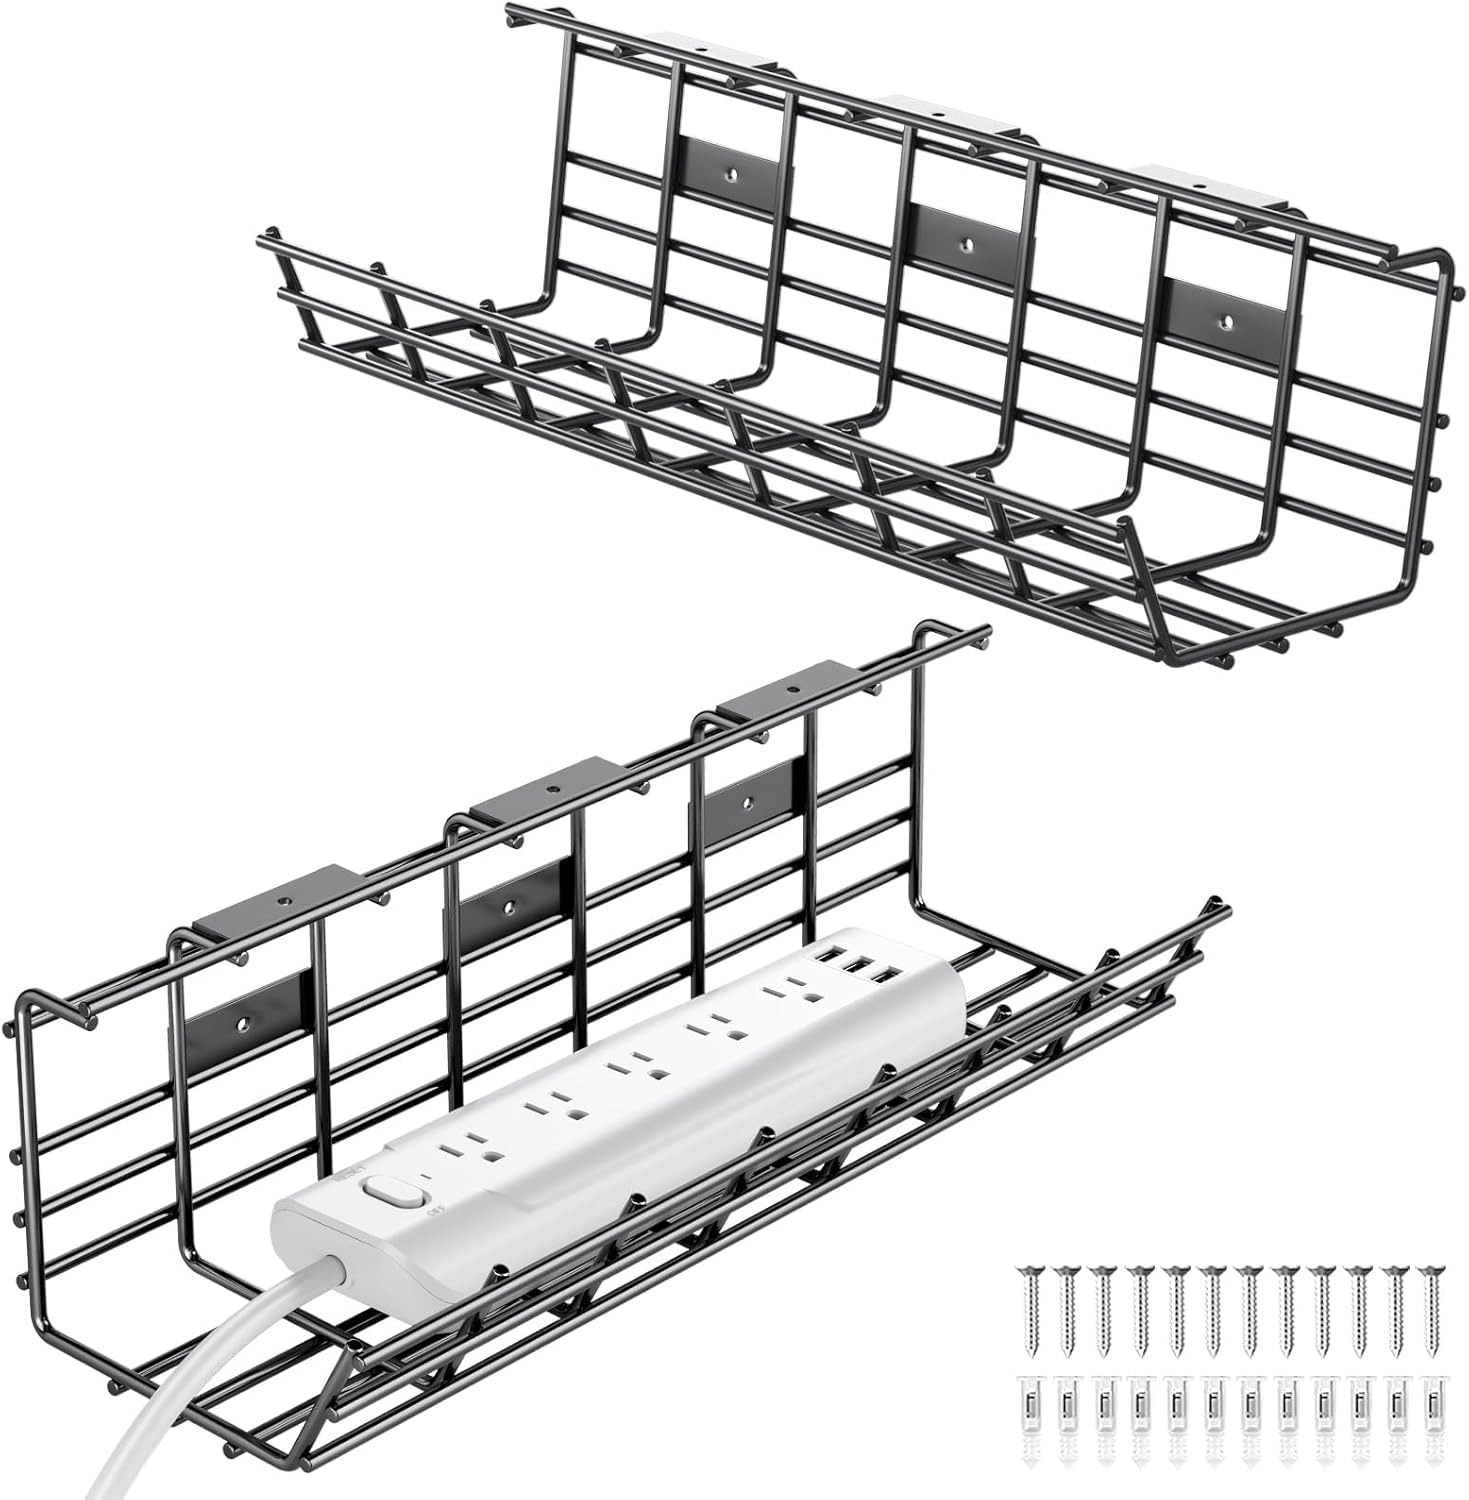
- Mount with screws; plan screw spacing first
- Route cords into tray; coil slack with reusable ties
- Leave a little room for future gear
2) Adhesive Wall Raceway (clean drop)
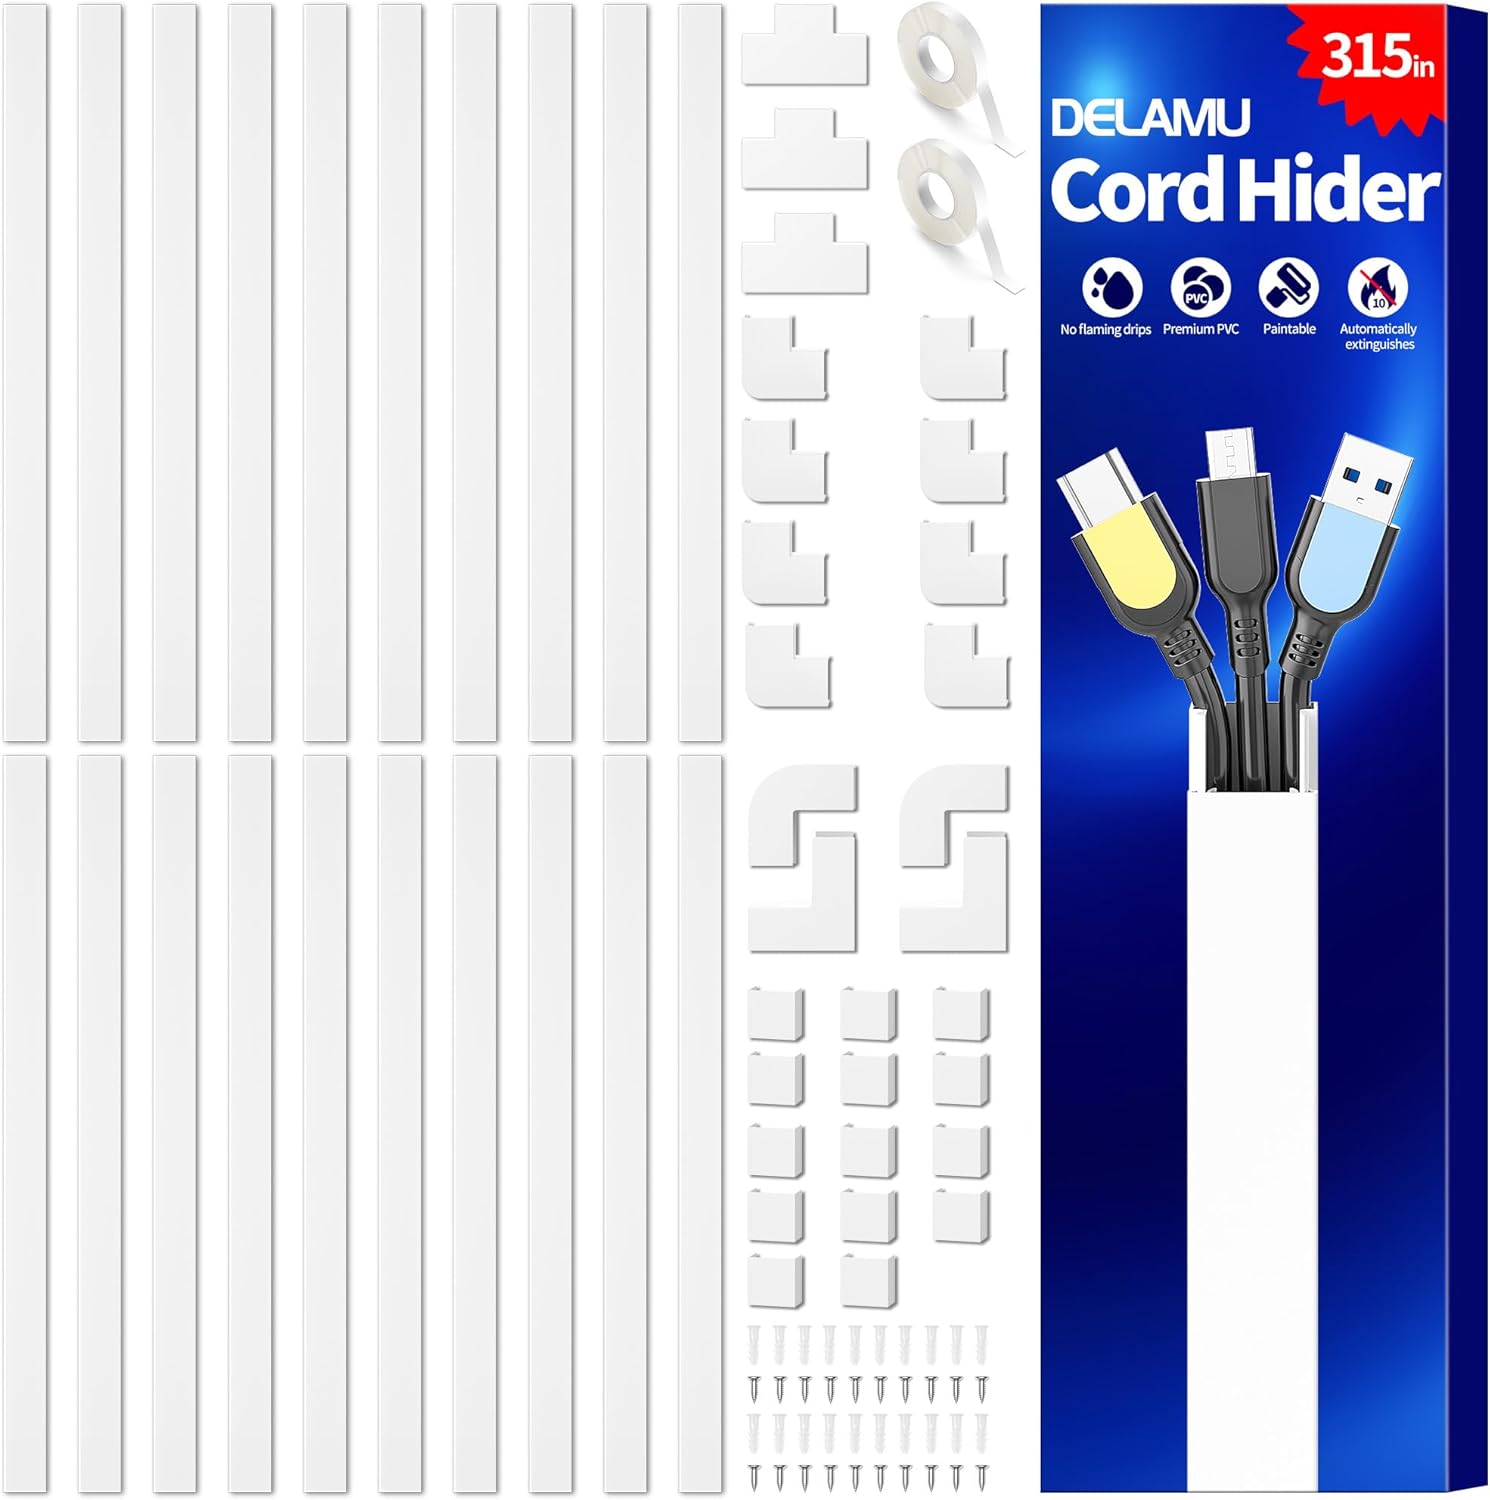
- Degrease wall first; cut sections with miter box for corners
- Snap lid after test-fit; paint after install if needed
3) Cable Box (hide the brick zoo)

Nice-to-haves
- Flat-plug surge strip with long cord
- Mountable surge strip (keyhole slots)
- Vertical cable spine for standing desks
- Split loom for floor runs; neoprene sleeve PC→tray
- Reusable ties + adhesive clips for edge routing
Kits that just work
- Renter (no drill): Raceway + Cable Box + Adhesive Clips + VELCRO
- Permanent desk: Under-desk Tray + Mountable Surge Strip + Neoprene Sleeve
- Standing desk: Mountable Surge Strip + Tray + Vertical Spine + Split Loom

FAQs
- Do I need a drill? No — raceways, clips, and cable boxes are peel-and-stick. Only the tray usually needs screws.
- Heat issues? Keep bricks in the mesh tray or vented box; don’t stuff them in sleeves.
- Future-proofing? Leave 20% space in the tray; label chargers; keep extra VELCRO ties nearby.
Next steps for a clean setup
Disclosure: As an Amazon Associate, I earn from qualifying purchases. This means I receive a small commission when you buy through the links on this page, at no additional cost to you.

Leave a comment